Crochet Baby Blanket Pattern Without Holes 7(Secret Easy Guide)
Table of Contents
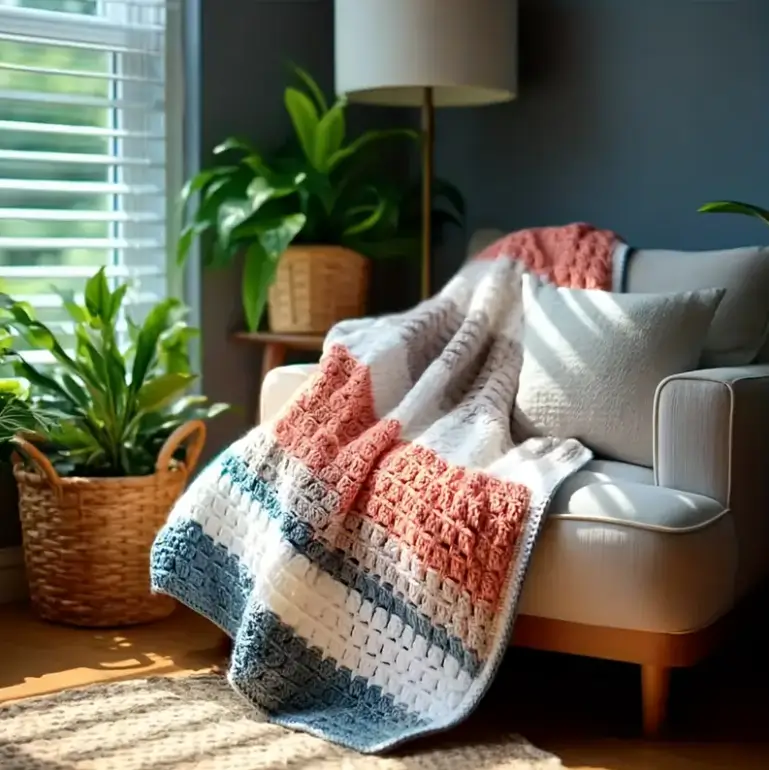
Crochet Baby Blanket Pattern
Every parent knows the struggle of finding the perfect baby blanket. You want something soft, warm, and safe, but many crochet afghans come with a frustrating problem: gaps. Those little holes might look decorative to us, but for worried parents, they’re a concern. Tiny fingers can get caught, and the blanket doesn’t provide consistent warmth. That’s exactly why the Bernat Pipsqueak Star blanket has become such a beloved pattern in the crochet community.
This gorgeous 6-point star blanket isn’t just another pretty pattern. It’s specifically engineered to solve the gapping problem that plagues so many baby afghans. If you’ve been searching for a project that combines visual appeal with practical functionality, you’ve found it. The best part? This pattern uses the exact same technique as the popular Fluffy Unicorn blanket, so if you’ve mastered one, you’ve mastered both.

Understanding the Magic Behind This Pattern
What makes this blanket truly special is its ingenious construction method. The entire afghan relies on alternating between just two types of rounds. Think of it like a conversation between the stitches. The first round creates a small gap, almost like asking a question. The second round answers by filling that space right back in. This back-and-forth dialogue continues throughout the entire project, creating a dense, secure fabric that parents can trust.
The pattern works beautifully with Bernat Pipsqueak yarn paired with a U.S. size K (6.5mm) crochet hook. Now, here’s something you need to know upfront: working with Pipsqueak yarn requires a different approach than standard yarn. The fluffy texture that makes this blanket so irresistibly soft also makes it impossible to see your individual stitches. You’ll need to rely entirely on touch, feeling your way through each stitch. It’s a skill that feels awkward at first but becomes second nature after a few rounds.
For learning purposes, many crafters start with Bernat Brights yarn and an 8mm hook instead. The thicker, smooth yarn lets you actually see what you’re doing, making it perfect for understanding the mechanics before diving into the fuzzy stuff. Once you’ve got the rhythm down with visible yarn, transitioning to Pipsqueak becomes much less intimidating.
Getting Started: Building Your Foundation
Every great blanket starts with a solid center. Your first round establishes the foundation that everything else builds upon. Begin by creating a slip knot, then chain five stitches. Connect the last chain to the first with a slip stitch, forming a small ring. This ring becomes the heart of your star.
Chain up two stitches, but remember these don’t count as anything in your stitch count. Now work twelve half double crochets around that center ring. Here’s a pro tip that’ll save you headaches later: trap your loose yarn tail inside these stitches as you work. This eliminates the need for weaving it in afterward and creates a cleaner finish.
Join your round with a slip stitch to the top of your first half double crochet. You’ve just completed round one. Take a moment to feel accomplished because you’re already on your way.
Round two is where your star begins to take shape. Chain one, then place a single crochet into the same stitch where you just made your slip stitch join. This next step creates your first peak. Work three half double crochets into the following stitch. Now establish a pattern: one single crochet in the next stitch, then three half double crochets in the stitch after that. Continue this sequence all the way around. You should end up with six distinct peaks radiating from your center.
Join to your starting single crochet with a slip stitch, then fasten off. Weave that tail into about two inches of stitchwork to secure it. Your foundation is complete, and your star pattern is clearly visible.
Mastering the Alternating Rounds
This is where the pattern really shows its brilliance. You’ll be working two distinctly different round types that alternate throughout the entire project. Understanding these rounds is the key to success.
The gapping round establishes your six points and creates intentional space. Start by joining your yarn into the first double crochet of any previous peak. Chain three, which counts as your first double crochet throughout this round. Work one double crochet into the middle stitch of that three-stitch group from the previous round.
When you reach the corner space, use this formula: two double crochets, chain two, then two more double crochets. This corner treatment keeps your points sharp and well-defined. After the corner, work one double crochet into the next stitch. Here comes the crucial gapping step: skip the single crochet from the previous round entirely. This creates that intentional gap we talked about earlier.
Repeat this sequence all the way around your blanket. Work your double crochets up to each corner, apply the corner formula, work down the other side, and skip that single crochet. Join to the top of your beginning chain three when you complete the round.
The filling round is what makes this pattern special. Start by slip stitching into the next available stitch, shifting your starting position over by one. Chain three again for your first double crochet. Work double crochets along the side until you reach the corner space, where you’ll use that same corner formula.
Here’s where the magic happens. As you double crochet down the other side of the point, you’ll notice two stitches leaning toward each other in that gap from the previous round. Join these two stitches together using a single crochet two together decrease. This technique literally pulls the gap closed, creating that secure, hole-free fabric that makes this blanket so perfect for babies.
Continue working double crochets to the next corner and repeat the process. Corner formula, double crochets down the side, single crochet two together in the gap, and repeat all the way around. Join with a slip stitch to finish the round.
Growing Your Blanket to Any Size
The beauty of this pattern is its flexibility. You can make this blanket as large or small as you need. Each time you complete the two-round sequence, the distance between your corner points increases. The blanket grows outward in a perfectly symmetrical star shape.
If you’re creating the full-sized Fluffy Unicorn version that reaches sixty-four inches in diameter, there’s an important modification for your final round. Switch from double crochets to half double crochets. This adjustment uses less yarn per stitch, ensuring you don’t run out before completing your project.
Finish your blanket with a simple single crochet border traced around the entire edge. When you reach each corner turn, work three single crochets into the corner space to maintain that beautiful pointed shape. This border gives your blanket a polished, professional appearance while reinforcing the edges.
Why This Pattern Works for Everyone
Whether you’re a confident crocheter or someone still building skills, this pattern offers something valuable. The two-round repeat means you’re never trying to memorize complicated stitch sequences. Once you understand the gapping round and the filling round, you simply alternate between them until your blanket reaches the desired size.
The result is a stunning, functional baby blanket that parents will actually use and trust. No more worrying about gaps or holes. Just soft, secure warmth wrapped around their little one.