Crochet Baby Hat best Pattern for Beginners 7 step
Table of Contents
Crochet Baby Hat Pattern for Beginners,Can you believe it’s almost that time of year again? The leaves are starting to turn, there’s a crispness in the morning air, and my hands are itching to start crocheting cozy pieces for fall. There’s something magical about preparing handmade gifts as the seasons change, especially when you’re creating something special for a little one.
Today, I’m thrilled to share the Crochet Baby Krouchi Beanie pattern with you. This adorable little hat was made with love for my sweet Baby Krouchi, who I had the pleasure of visiting just before Thanksgiving last year. As soon as I met him, I knew he needed something soft, warm, and perfectly him. The result? This incredibly simple beanie that’s become one of my go-to patterns for baby gifts.
The Story Behind the Crochet Baby Hat
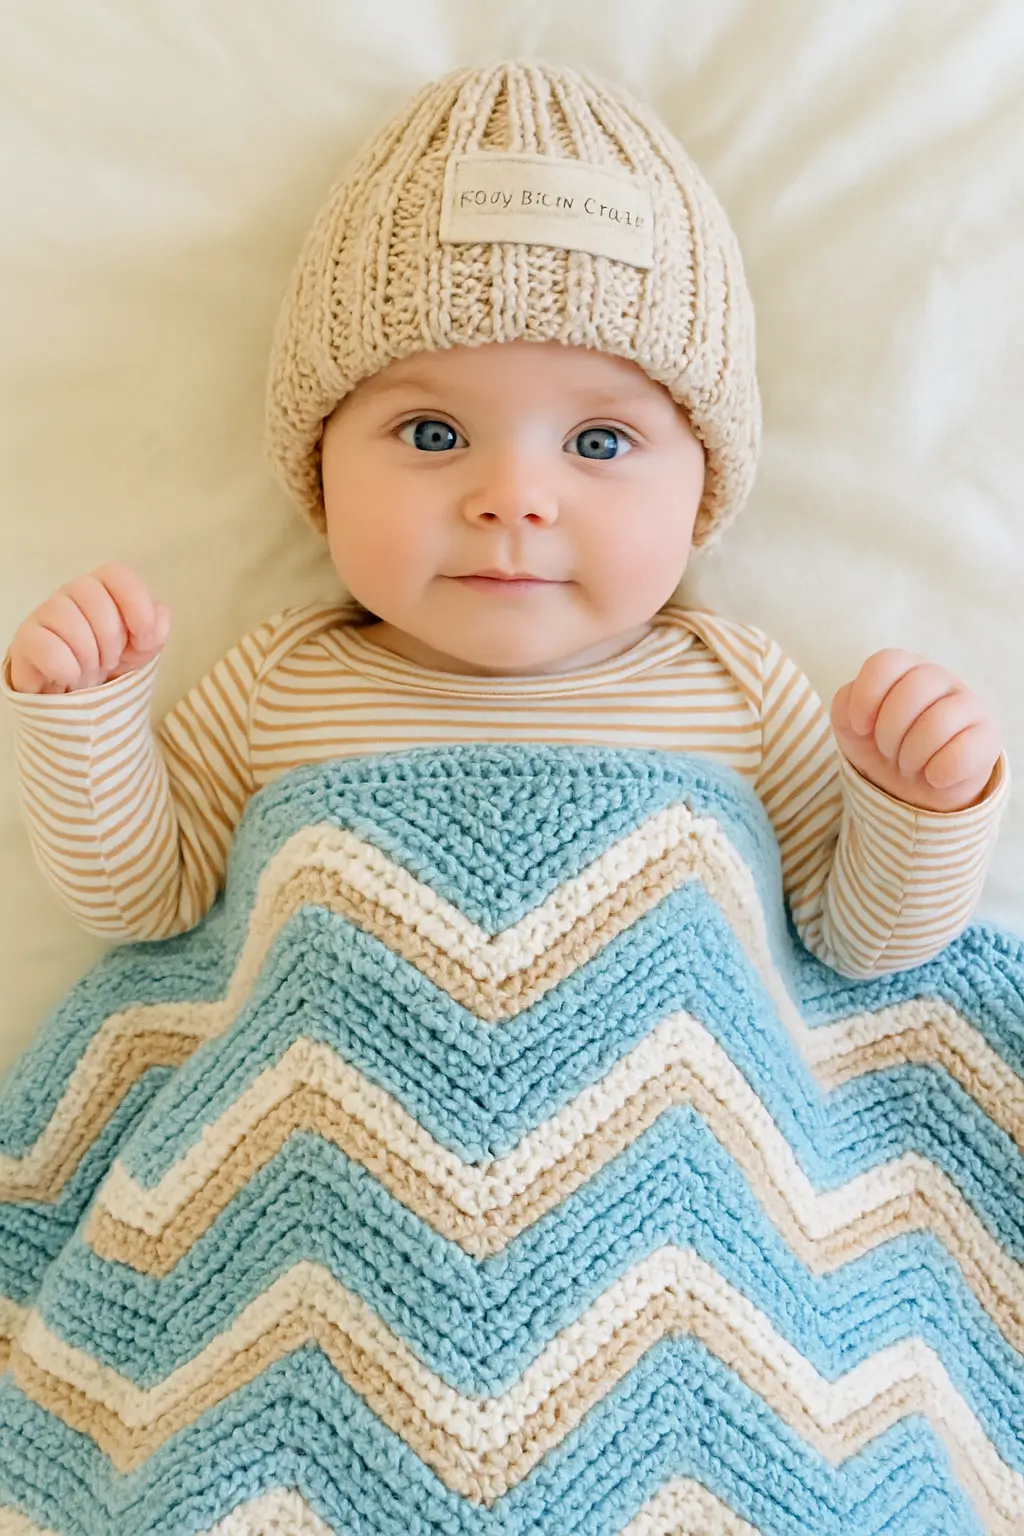
If you’ve been following along with my projects, you might remember the Squared-Off Chevron Blanket I created for Krouchi. I wanted his beanie to coordinate perfectly with that blanket, so I reached for the same beautiful yarn—Bernat Softee Cotton in Feathered Grey. This shade has quickly become my absolute favorite. There’s something about that soft, neutral grey that works beautifully for both boys and girls, and it pairs effortlessly with just about any outfit.
The pattern itself is wonderfully straightforward, making it perfect for both beginners who want to build their confidence and experienced crocheters looking for a quick gift project. I always keep a few of these on hand throughout the year because you never know when you’ll need a last-minute baby shower gift or want to donate to a local hospital or charity.
Customization Options to Match Your Style
One of the things I love most about this pattern is how versatile it is. While the original design features a slip stitch brim that creates a lovely, defined edge, you can easily adapt it to achieve different looks. For instance, if you’re obsessed with the trendy Fun Fringe style that’s been taking the crochet world by storm, simply substitute the slip stitch portion with back loop half double crochet stitches. This creates that gorgeous textured, almost ribbed appearance that everyone’s been raving about in the Daisy Farm Crafters Facebook group.
Speaking of texture, let me tell you why I chose half double crochet as the main stitch for this project. When worked in Bernat Softee Cotton, the HDC stitch creates the most beautiful definition. The yarn has just enough structure to showcase each stitch without being stiff or rigid. The blend of sixty percent cotton and forty percent acrylic means it’s breathable for baby’s delicate skin while still maintaining that soft, cuddly feel parents love.
What You’ll Need to Get Started
Let’s talk materials. For this project, you’ll need just one skein of Bernat Softee Cotton. This yarn is categorized as a 3 light weight, and each skein contains 120 grams (that’s 4.2 ounces) with an impressive 232 meters or 254 yards. Trust me, you’ll have plenty left over for another small project or two.
For the featured beanie, I used the Feathered Grey colorway, but Bernat Softee Cotton comes in a gorgeous range of colors. Whether you prefer classic pastels, bold brights, or earthy neutrals, there’s definitely a shade that’ll speak to you.
You’ll also need a Size G (4.0 mm) crochet hook, a pair of sharp scissors, and a tapestry needle for weaving in your ends. If you want to add a special finishing touch, consider attaching a small leather tag or an iron-on decal. These little details transform a handmade item into something that truly looks professional and gift-worthy.
Understanding the Stitches
Before we dive into the pattern, let’s quickly review the two main stitches you’ll be using. The half double crochet (HDC) is a wonderfully versatile stitch that sits right between a single crochet and a double crochet in terms of height. It creates a fabric that’s not too dense and not too open—just perfect for a beanie.
The slip stitch (SL ST) is the shortest of all crochet stitches. In this pattern, we’ll use it to create a slightly tighter, more defined brim that helps the beanie maintain its shape and provides a nice contrast to the body of the hat.
Getting the Perfect Fit
Here’s where this pattern really shines—you can adapt it for absolutely any size and any yarn weight. Whether you’re making a hat for a newborn or scaling it up for an adult, the process remains the same.
For sizing, you’ll want to take two key measurements. First, measure from the chin to the crown of the head if you want a generous, slightly floppy brim that can be rolled up. Alternatively, measure from just under the nose to the crown for a snugger, more fitted beanie look. It’s also helpful to know the head circumference, which helps you determine how wide to make your finished piece.
The specific hat I made for Krouchi measures eight inches tall and fifteen inches wide when laid flat. This corresponds to the height of a typical 3-6 month size, while the circumference matches a 12-month size at 16 inches around. I intentionally built in about an inch of ease to account for the natural stretch of the yarn and to ensure Krouchi could wear it comfortably for several months as he grows.
The Pattern Instructions
Now for the fun part! Start by chaining 41 stitches. This creates the foundation for your beanie’s height.
For your first row, you’ll work a half double crochet into the next 34 chains, then slip stitch into the final 5 chains. Chain 1 and turn your work. This establishes the distinct sections of your beanie—the main body in HDC and the brim in slip stitches.
Row two is where the magic happens. Work 5 slip stitches through the back loop only, then continue with back loop half double crochets into all the remaining HDC stitches from the previous row. Chain 1 and turn.
For row three, flip it around. Start with back loop HDC into each HDC stitch, then slip stitch through the back loop of those final 5 slip stitches. Chain 1 and turn.
Here’s a pro tip I discovered while perfecting this pattern: if you want an extra crisp, defined look on your brim, try using chain 2 instead of chain 1 when you’re turning at the end of your HDC rows. It creates a slightly taller edge that really makes the brim pop. Just remember to place a stitch marker in that last stitch so you don’t accidentally miss it on your next row.
Continue alternating between rows 2 and 3 until your piece measures the desired width. For Baby Krouchi’s hat, I worked until I reached 15 inches across, but remember—you can adjust this based on your specific measurements.
Finishing Touches That Make All the Difference
Once you’ve reached your target width, it’s time to bring your beanie to life. Tie off your work, leaving a long tail—I usually leave about 18 to 20 inches, which gives me plenty to work with. Thread that tail onto your tapestry needle and carefully sew the sides of your beanie together, creating a tube shape.
Next, weave your needle through the stitches at the top of the beanie and pull gently to gather and close the opening. Secure it with a few stitches to make sure it stays put. Weave in any remaining ends, and your beanie is nearly complete!
This is where you can really let your creativity shine. I love adding a small leather tag or patch to give each beanie a signature look. You can find these at most craft stores or online, and they come in endless styles. Another option is to use iron-on decals or patches featuring cute animals, initials, or seasonal designs.
Join Our Crafting Community
Creating this beanie for Baby Krouchi was such a joyful experience, and I hope it brings you the same happiness as you stitch up your own version. There’s something incredibly special about working with your hands to create something meaningful for someone you love.
If you’re looking for more inspiration or have questions as you work through the pattern, I’d love for you to join us in the Daisy Farm Crafters group on Facebook. It’s a wonderfully supportive community where crafters of all skill levels share their projects, ask questions, and cheer each other on. You’ll find countless variations of this pattern, color combination ideas, and so much more.
The free printable PDF of this pattern is available at the end of this post—just click the download link and you’ll have the complete instructions ready to print or save to your device.
Happy crocheting, and here’s to creating cozy, handmade pieces that wrap our loved ones in warmth all season long!