
Table of Contents
Why Choose This Crochet Bag Pattern?
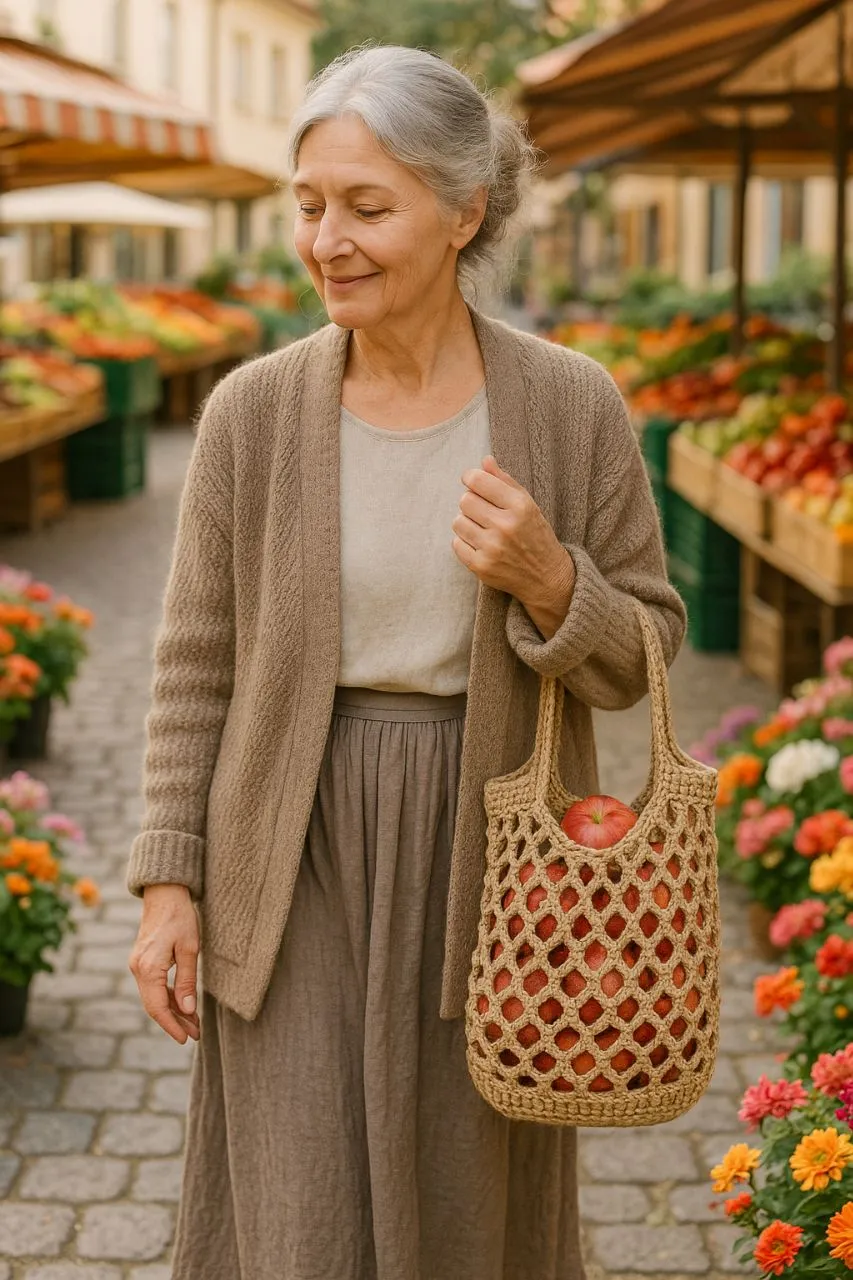
Tired of flimsy plastic grocery bags ripping and letting your apples roll down the sidewalk? Or maybe those reusable totes just aren’t holding up? You’re not alone! That’s exactly why this crochet bag pattern is here to save the day. We’re making a super sturdy, totally reusable market tote that’s not only good for the planet but also surprisingly easy to create, even if you’re just starting your crochet adventure. Grab your yarn, and let’s make something amazing together!
The Problem with Flimsy Grocery Bags
Let’s face it: plastic bags are a mess. They tear easily, create mountains of waste, and end up everywhere except the recycle bin. Even some fabric reusable bags lose their shape or develop holes after a few heavy hauls. It’s frustrating, wasteful, and bad news for our beautiful planet. You need something dependable!
Benefits of a Sturdy Reusable Crochet Tote
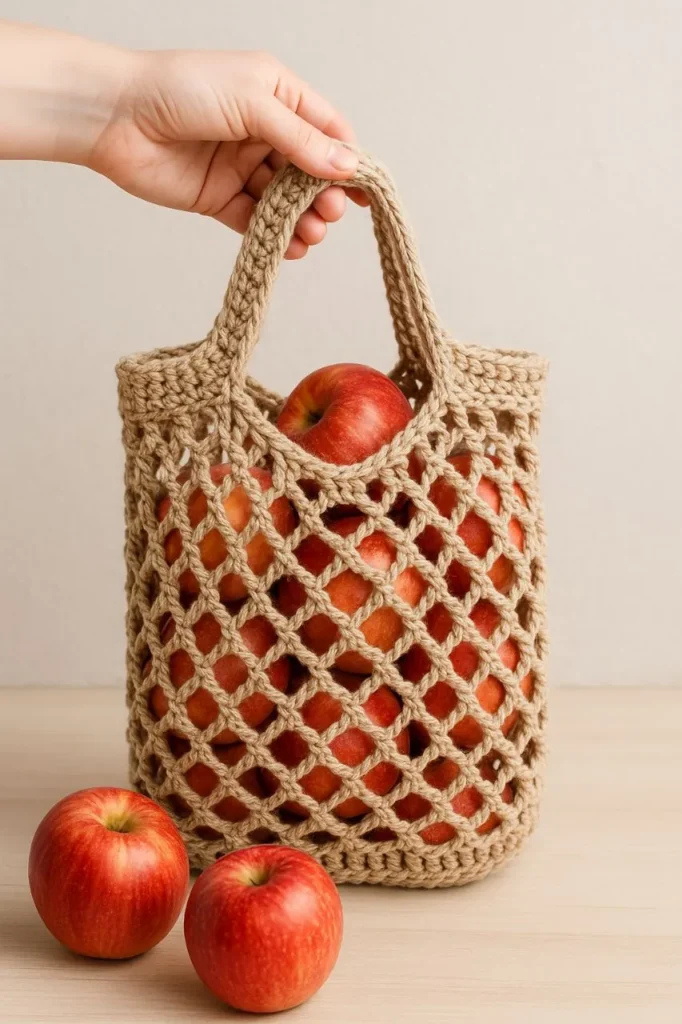
This handmade crochet tote solves those problems! Here’s why you’ll love it:
- Super Strong: Made with tight stitches and sturdy yarn, it holds heavy groceries without stretching out of shape or breaking.
- Eco-Friendly Hero: Ditch single-use plastics! Use your beautiful handmade bag hundreds of times.
- Breathable & Washable: Perfect for produce, beach days, or the pool. Just toss it in the wash when needed.
- Customizable Style: Pick your favorite colors! Make it uniquely yours.
- Satisfaction Guaranteed: Feel proud using something you made yourself. It’s useful art!
Why This Pattern is Perfect for Beginners
Don’t worry if you’re new to crochet! This crochet bag pattern uses only the most basic stitches (chain, single crochet, double crochet). We break everything down into simple, manageable steps. Plus, working in continuous rounds for the base and body means fewer pesky seams to join. It’s designed to build your confidence while creating something truly practical.
What You Need: Materials & Tools
Gathering your supplies is step one! Here’s exactly what you’ll need for this beginner-friendly crochet bag pattern:
Yarn Recommendations (Focus on Sturdiness & Eco-Friendly Fibers)
The key to a strong market bag is the yarn! Choose a worsted weight (Category 4) yarn known for durability. Natural fibers are fantastic for reusability:
- 100% Cotton: The top choice! Strong, washable, breathable, and eco-friendly. Great brands: Lily Sugar ‘n Cream, Peaches & Creme, Paintbox Yarns Cotton Aran.
- Cotton Blends: Blends with linen or recycled fibers add extra texture and strength.
- Recycled Cotton: A wonderful sustainable option gaining popularity.
- Tencel/Lyocell: A super soft, strong, and eco-friendly fiber made from wood pulp. Feels silky!
- Avoid: Acrylic or superwash wool for this project. They can stretch too much under weight.
How much? You’ll need approximately 300-400 yards (2-3 standard skeins) depending on the exact size and handle length.

Essential Crochet Hook Size & Type
Match your hook to your yarn! Most worsted weight cotton works beautifully with:
- Hook Size: US Size I-9 (5.5 mm) or J-10 (6.0 mm). Check your yarn label’s recommendation.
- Hook Type: An ergonomic hook with a comfortable grip makes a big difference for your hands, especially on a larger project. A standard aluminum hook works fine too!
Must-Have Notions: Scissors, Tapestry Needle
Just a few extra tools round out your kit:
- Sharp Scissors: For cleanly cutting your yarn.
- Tapestry Needle (Yarn Needle): A large-eyed, blunt needle for weaving in all those ends securely. Essential for a neat finish!
- Stitch Marker (Optional but Helpful): Useful to mark the start of a round, especially when working on the base.
Mastering the Basics: Stitches Used
This crochet bag pattern keeps it simple! We only use three fundamental stitches. If you know these, you’re golden. Here’s a quick refresher:
Quick Refresher: Chain Stitch (ch)
This is your starting point, like casting on in knitting.
- Make a slip knot on your hook.
- Yarn over (wrap yarn over hook from back to front).
- Pull that yarn over through the loop on your hook. That’s one chain!
- Repeat for as many chains as your pattern calls for. Keep your tension even – not too tight, not too loose.
The Workhorse: Single Crochet (sc)
This stitch builds a dense, strong fabric perfect for bag bases.
- Insert your hook into the stitch indicated.
- Yarn over.
- Pull up a loop (you now have 2 loops on hook).
- Yarn over again.
- Pull through both loops on the hook. One single crochet made!
Building Height & Structure: Double Crochet (dc)
This taller stitch helps the bag sides grow faster and adds structure.
- Yarn over.
- Insert hook into the stitch indicated.
- Yarn over, pull up a loop (3 loops on hook).
- Yarn over, pull through the first 2 loops on the hook (2 loops left).
- Yarn over, pull through the remaining 2 loops. One double crochet complete!
Pro Tip: Consistent tension is key for an even-looking bag! Relax your hands.
Your 5-Step Crochet Bag Pattern Walkthrough
Let’s get stitching! Follow these steps carefully for your perfect market tote.
Step 1: Creating the Solid Base
The base is the foundation – make it strong!
- Start: Make a magic ring (or chain 4 and join with a slip stitch to form a ring).
- Round 1: Chain 1 (doesn’t count as stitch). Make 6 single crochet (sc) into the ring. Pull the tail to tighten the ring. Join with slip stitch to first sc. (6 sc)
- Round 2: Ch 1. Make 2 sc in each stitch around. Join with sl st to first sc. (12 sc)
- Round 3: Ch 1. Sc in next stitch, 2 sc in next stitch. Repeat from * around. Join. (18 sc)
- Round 4: Ch 1. Sc in next 2 stitches, 2 sc in next stitch. Repeat around. Join. (24 sc)
- Continue Increasing: Keep increasing evenly (adding 6 stitches each round: sc in each st until the last st of the increase “section”, then 2 sc in that st) until your base is the desired width (e.g., 8-9 inches across for a standard grocery tote). Your final round count depends on the size. End with a round of sc in every stitch (no increases) to flatten it out. Join. Do NOT fasten off.
Step 2: Working Up the Sides Seamlessly
Time to build height!
- Establish Sides: Chain 2 (counts as first dc now and throughout). Turn your work so you’re working into the side of the base stitches.
- Round 1 (Sides): Make 1 double crochet (dc) in each single crochet stitch around the edge of your base circle. Join with slip stitch to top of beginning ch-2. Place a stitch marker here if desired.
- Rounds 2+: Chain 2. Make 1 dc in each dc stitch around. Join with sl st to top of ch-2. Repeat these rounds until the bag body reaches your desired height (typically 10-14 inches tall before handles). Keep your edges straight!
Step 3: Forming the Bag’s Sturdy Body
For extra strength and visual interest, we often add a simple texture.
- Texture Round (Optional but Recommended): Ch 1. Make 1 sc in the same stitch. Skip next dc, make 1 dc, 1 ch, 1 dc all in the next dc (creates a small “V” or eyelet). Skip next dc. Repeat from * around, ending with skip next dc, sc in last dc. Join with sl st to first sc. This creates a slightly denser, reinforced fabric.
- Continue: Work even rounds of dc (or repeat the texture round every few inches) until your bag body is the height you want. End after a plain dc round.
Step 4: Crafting Comfortable Handles
Strong handles are crucial! We’ll make simple straps.
- Position Handles: Count the total number of stitches around the top of your bag. Divide by 4. Mark the stitch for the start of your first handle (e.g., stitch 1), skip the next quarter of stitches (this is the front handle gap), mark the next stitch (start of back panel), skip the next quarter (back handle gap), mark the next stitch (start of second front handle).
- First Handle Foundation: Slip stitch to the stitch where you want the handle to start. Chain 1. Make enough foundation single crochet (fsc) or chain stitches for your desired handle length (e.g., 60-80 chains for a shoulder carry). Make sure it’s comfortable! Alternatively, make a chain as long as you want the handle plus about 6 inches.
- Attach First Handle: Skip the same number of stitches you chained over on the bag top, then slip stitch firmly into the stitch marking the end of the handle gap.
- Second Handle Foundation: Slip stitch across the back panel stitches to the start of the second handle gap. Repeat steps 2 & 3 to make and attach the second handle exactly like the first.
- Reinforce Handles (IMPORTANT): Turn your work. Working only on the handle strap: Ch 1. Sc in each stitch (or chain space) across the entire length of the handle. When you reach the bag, make 1 sc very firmly into the top edge stitch of the bag where the handle attaches. Sc all the way back across the handle strap. Sl st to first sc. Fasten off securely. Weave in ends thoroughly on the inside where the handle joins the bag. Repeat for the second handle. This extra row of sc makes the handle strong enough to carry heavy loads.
Step 5: Securing Ends & Final Touches
The finishing touches make it professional!
- Weave in ALL Ends: Using your tapestry needle, carefully weave in every single yarn tail, especially those from the base, handle attachments, and color changes. Weave back and forth through stitches on the inside for maximum security. Don’t skip this!
- Light Blocking (Optional but Helpful): Lightly dampen your finished bag. Gently shape it, smoothing out the base and sides. Let it dry flat. This helps even out stitches.
Finishing Strong: Blocking & Care Tips
Your crochet bag pattern is almost done! A little care ensures it lasts for years.
How Blocking Shapes Your Perfect Market Tote
- What it is: Gently shaping your finished item while damp and letting it dry.
- Why do it: Helps the bag hold its intended shape, smooths out any uneven stitches, and makes it look more polished.
- How to Block this Bag:
- Fill a sink or basin with cool water and a tiny bit of mild soap (optional). Submerge your bag. Gently squeeze, don’t wring. Let it soak for 10-15 mins.
- Drain the water. Press gently to remove excess water. Roll the bag in a clean towel and press to absorb more water.
- Lay the bag flat on a dry towel or blocking mat. Gently pull the base into a nice circle. Smooth the sides flat. Ensure the handles are straight and untwisted.
- Let it air dry completely. Avoid direct heat or sunlight.
Washing & Drying for Long-Lasting Use
- Washing: Most cotton crochet bags can be machine washed on a GENTLE/CASUAL cycle in cool water. Use a mild detergent. Place the bag inside a mesh laundry bag or pillowcase for extra protection, especially if your machine has an agitator.
- Drying: AIR DRYING IS BEST! Lay flat to dry as described in blocking. If you must use a dryer, use the LOWEST heat setting possible and remove while still slightly damp to reshape and finish air drying. High heat can shrink or felt cotton.
Eco-Friendly Style: Using Your New Crochet Bag
Your handmade tote is ready to replace those plastic bags! Here are some perfect ways to use it:
Perfect for Farmers Markets & Grocery Runs
This is its superpower! Fill it with:
- Fruits & veggies (the breathable cotton is perfect!)
- Bread from the bakery
- Cans, jars, and pantry staples (thanks to its strength!)
- A few bottles of wine (balance the weight!)
It scrunches down small in your purse or car when not in use.
More Uses for Your Handmade Crochet Tote
Get creative! Your bag is great for:
- Beach Trips: Towel, sunscreen, book, snacks!
- Library Visits: Haul your book stack in style.
- Yarn Stash Tote: Carry your WIPs (works in progress!).
- Gift Giving: Fill it with goodies for a handmade gift basket.
- Craft Fairs: Show off your skills while you shop others’.
- Picnics in the Park: Pack lunch and a blanket.
Ready to Stitch? Grab Your Hook!
You’ve got the know-how, the easy crochet bag pattern, and the power to make something amazing! Imagine the compliments you’ll get using your own stylish, planet-friendly tote. No more flimsy bags breaking – just sturdy, reusable pride.
This beginner-friendly pattern is your perfect project. It builds skills while creating something truly useful. So, what are you waiting for? Dig into your yarn stash (or treat yourself to some beautiful cotton!), find that hook, and let’s get crocheting!
We’d LOVE to see what you make! Share a photo of your finished market tote on Instagram or Facebook – tag your post with #EasyCrochetMarketTote and #MyCrochetBagPattern. Inspire others and show off your fantastic work! Happy stitching!