
🪡 Materials Needed
- Worsted weight yarn in several colors (green, yellow, pink, beige, black, etc.)
- Crochet hook (size G/4.0mm or as appropriate for your yarn)
- Fiberfill stuffing
- 6 plastic or real eggs for sizing
- Yarn needle
- Safety eyes or black buttons
- Stitch markers
- Scissors
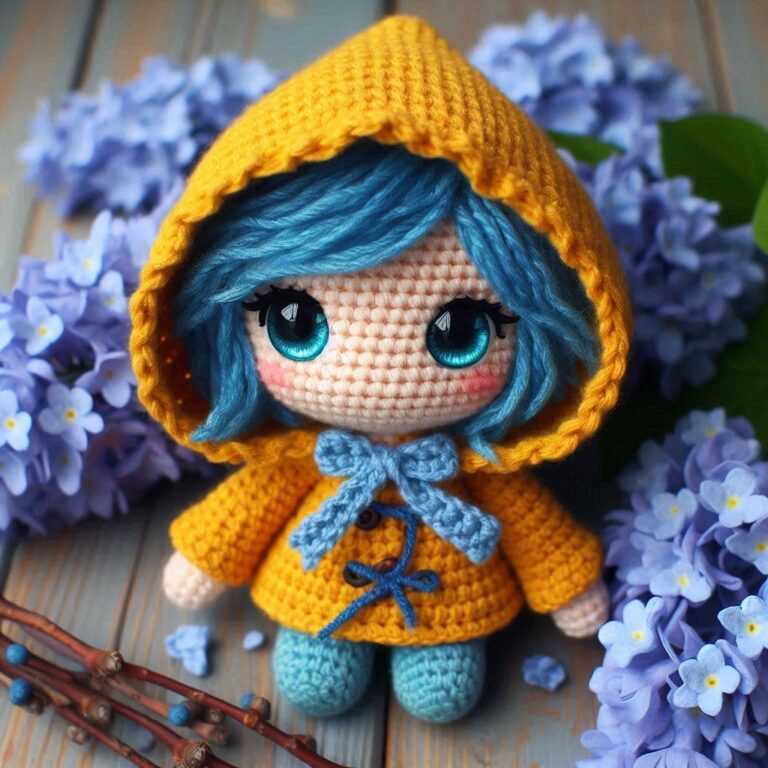
🧵 Step 1: Make the Bunny Head
Stitches used: Magic ring, single crochet (sc), increase (inc), decrease (dec)
- Start with a magic ring.
- Increase rounds to form a sphere for the head.
- Begin decreasing to close up the top.
- Add safety eyes or embroider them. Attach nose and embroider mouth.
- Stuff the head before fully closing.
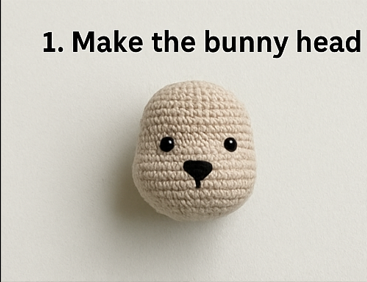
➡️ Take a photo of the head at halfway (before stuffing), and another when complete.
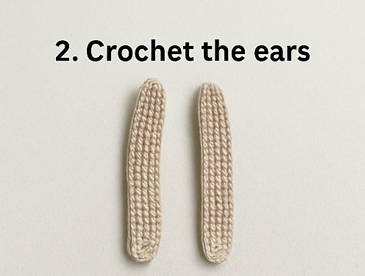
👂 Step 2: Crochet the Ears
- Make two long oval shapes using single crochet.
- Leave open at the base for sewing onto the head.
➡️ Take a picture of one ear flat, and then both attached.
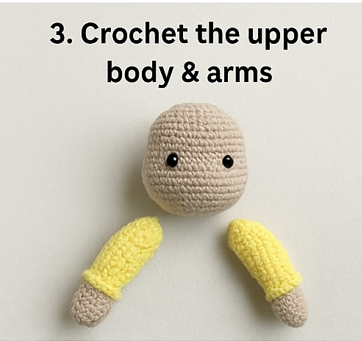
👗 Step 3: Crochet the Upper Body and Arms
- Make a cylindrical shape for the body.
- Crochet two tubes for arms.
- Use a brighter color (yellow in the image) for the sleeves.
- Attach the arms to the sides of the body.
➡️ Take pictures of body with and without arms.
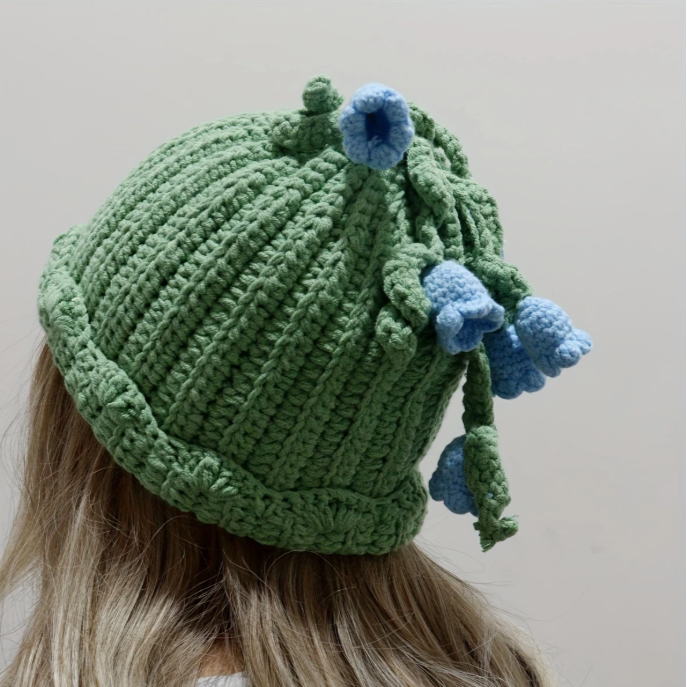
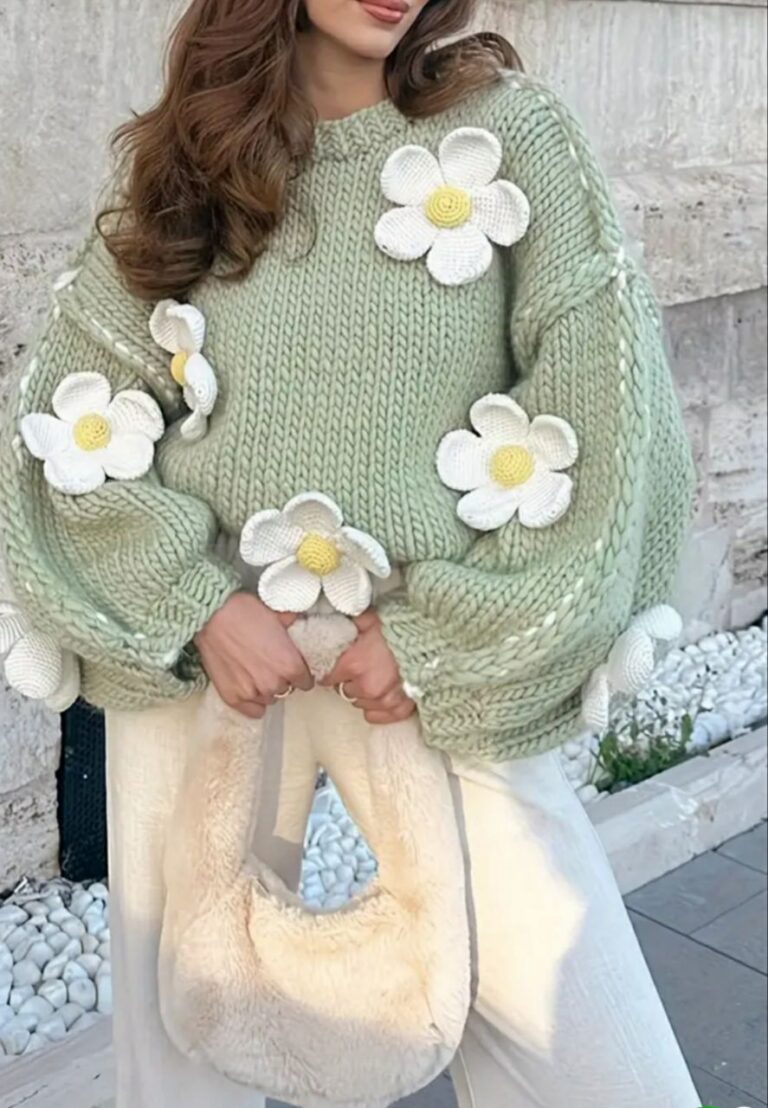
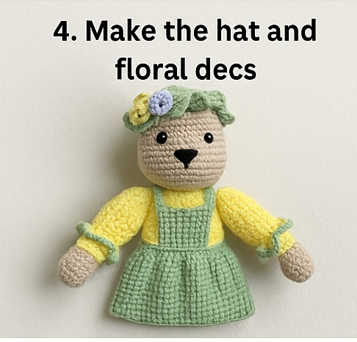
🌸 Step 4: Make the Hat and Floral Decorations
- Crochet a small ruffled round for the hat base.
- Make mini crochet flowers.
- Sew flowers onto the hat and then attach the hat to the bunny’s head.
➡️ Take photos of flower making and hat assembly.
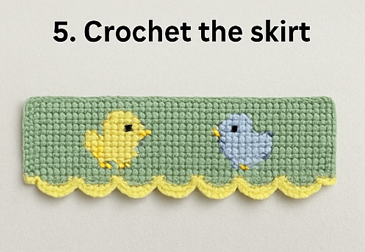
👗 Step 5: Crochet the Skirt
- Crochet a wide circle with ridges for the dress skirt.
- Work increases evenly to make it flow.
- Add straps like a suspender dress over the shoulders.
➡️ Photograph the skirt laid flat and then on the bunny.
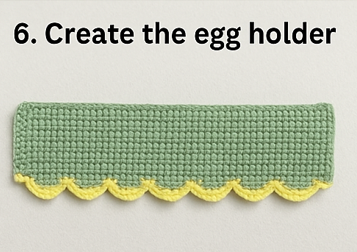
🐣 Step 6: Create the Egg Holder Skirt Base
- Crochet a wide band in the round.
- Use colorwork or tapestry crochet to add chick designs.
- Form six wide loops or pockets into the band.
- Stitch it onto the bottom of the skirt.
➡️ Picture the skirt with and without eggs inside.
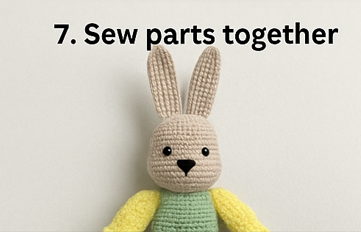
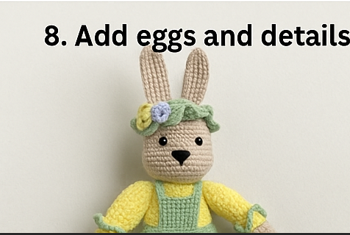
🧵 Step 7: Final Assembly
- Sew head to body.
- Add embellishments: lace, buttons, bows.
- Place eggs in the skirt pockets.
🖼️ Want to Make This a Visual Guide?
You could:
- Photograph each step as you go.
- Use Canva or PowerPoint to lay out the step-by-step images with captions.
- Turn it into a printable PDF pattern for easy sharing.
Would you like me to create a PDF crochet pattern layout or design image diagrams for each part? I can also help you write this out like a formal crochet pattern with stitch counts.